MAINTENANCE AND REPAIR
ON-VEHICLE SERVICE
Service Precautions
Caution : Brake fluid may irritate eyes and skin. In case of contact, take the following actions:
- Eye contact - rinse thoroughly with water.
- Skin contact - wash with soap and water.
- Ingestion - consult a physician immediately.
Notice : When fasteners are removed, always reinstall them at the same location from which they were removed. If a fastener needs to be replaced, use the correct part number fastener for that application. If the correct part number fastener is not available, a fastener of equal size and strength (or stronger) may be used. Fasteners that are not reused and those requiring thread-locking compound will be called out. The correct torque values must be used when installing fasteners that require them. If the above procedures are not followed parts or system damage could result.
Notice : Use only DOT 3 hydraulic brake fluid. The use of DOT 5 (silicone) brake fluid is not recommended. Reduced brake performance or durability may result.
Notice : Avoid spilling brake fluid on any of the vehicle's painted surface, wiring cables, or electrical connectors. Brake fluid will damage paint and electrical connectors. If any fluid is spilling on the vehicle, flush the area with water to lessen the damage.
Bleeding System
Replacement modulators are shipped already filled and bled. In normal procedures requiring removal of the modulator, such as to replace the HECU, air will not enter the modulator, and normal bleeding will be all that is needed. For this procedure, refer to
Section 4A, Hydraulic Brakes.
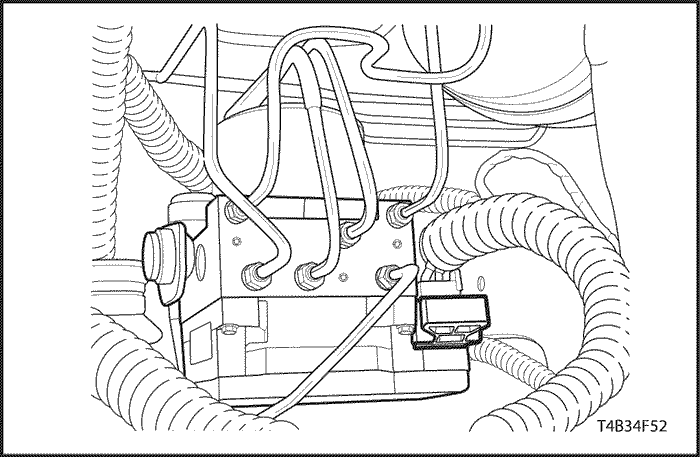


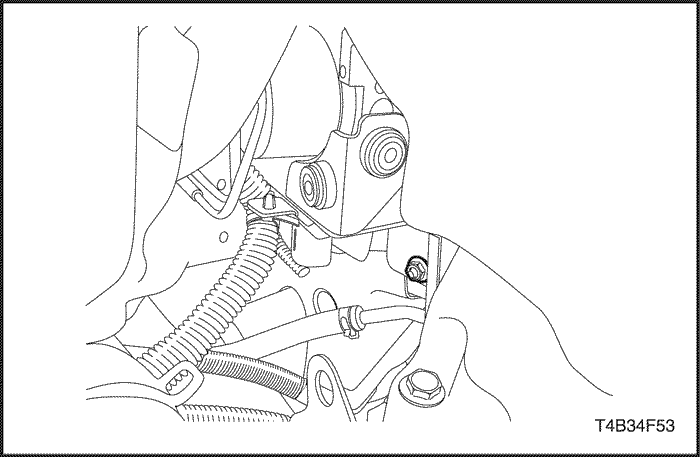
HECU Assembly
Removal and Installation Procedure
Notice : Do not hang the caliper assembly from the brake hose. Any resulting internal hose restriction will impede uniform braking action.
Important : To guarantee uniform braking on both sides, both rotors must have identical surfaces regarding smoothness and scoring depth. For this reason always replace both rotors.
- Disconnect the negative battery cable.
- Removed the cooling surge tank. Refer to Section 1D, Engine Cooling.And remove the engine room fuse box.
- Disconnect the ABS wiring harness connector from its socket on the HECU.
- Cover the connector and the socket with shop cloths to protect them from brake fluid.
Notice : Take care not to allow air into the hydraulic unit or into the brake pipes from the master cylinder. If air gets into the hydraulic unit, it will require a bleeding procedure using a scan tool programmed for the HECU ABS system. As long as no air enters the hydraulic unit, a simple bleeding procedure is all the system will require.
- Remove the brake pipes fitting nuts from the hydraulic unit.
- Remove the mounting bracket bolts on the hydraulic unit.
- Remove the HECU assembly.
Installation Notice
Tighten
Tighten the torque brake pipe fitting nuts to16 N•m (12 lb-ft)
Tighten
Tighten the HECU mounting bracket Bolts to 22 N•m (16 lb-ft)
- Add new brake fluid.
- After the installation, bleed the brake system. Refer to Section 4A, Hydraulic Brakes.
- Check the brake system for leaks.
- Care must be taken to prevent the brake fluid from contacting any painted surface to prevent damage to the paint finish.
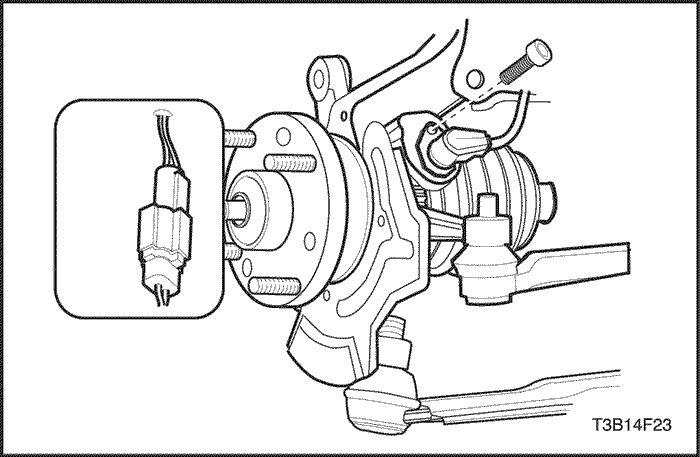
Front Wheel Speed Sensor
Removal and Installation Procedure
- Disconnect the negative battery cable.
- Raise and suitably support the vehicle.
- Disconnect the front wheel speed sensor electrical connector.
- Remove the bolt and front wheel speed sensor from the steering knuckle.
Installation Notice
Tighten
Tighten the front wheel speed sensor bolt to 9 N•m (16 lb-ft)
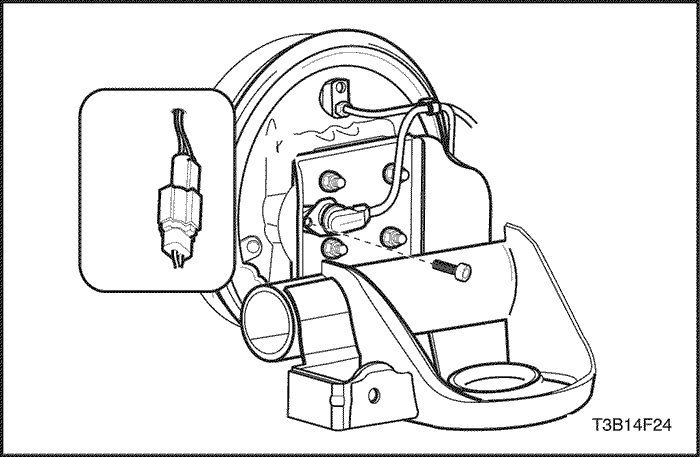
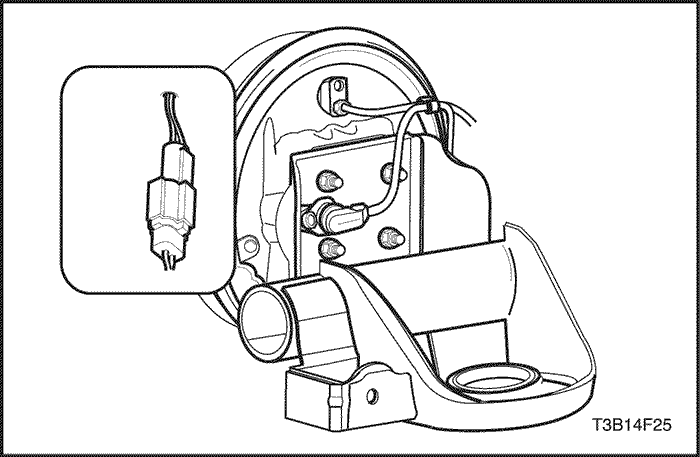
Rear Wheel Speed Sensor
Removal and Installation Procedure
- Disconnect the negative battery cable.
- Raise and suitably support the vehicle.
- Disconnect the rear wheel speed sensor electrical connector from the rear axle.
- Remove the rear wheel speed sensor cable grommets.
Installation Notice
Tighten
Tighten the rear wheel speed sensor bolt to 9 N•m (16 lb-ft)
| © Copyright Chevrolet Europe. All rights reserved |


